Avviso Importante!
I dati presentati su questo sito possono essere incompleti, fuorvianti o errati. E’ fondamentale quindi che l’arrampicatore valuti attentamente l’opportunità di recarsi in una falesia e affrontare una via sulla base dei consigli di altri frequentatori, della propria esperienza e di un'ispezione accurata della parete, valutandone la solidità e le condizioni degli ancoraggi. Il progetto "falesiaonline" non fornisce alcuna garanzia sulla validità dei dati presenti sul sito o sulla sicurezza dei luoghi descritti, e non si assume alcuna responsabilità per eventuali danni causati dall'utilizzo e dalla frequentazione degli stessi. Per ridurre gli inevitabili rischi insiti nella pratica dell’arrampicata è indispensabile l’uso costante del caschetto, anche per l’assicuratore, e l’impiego di un nodo di sicurezza in fondo alla corda.
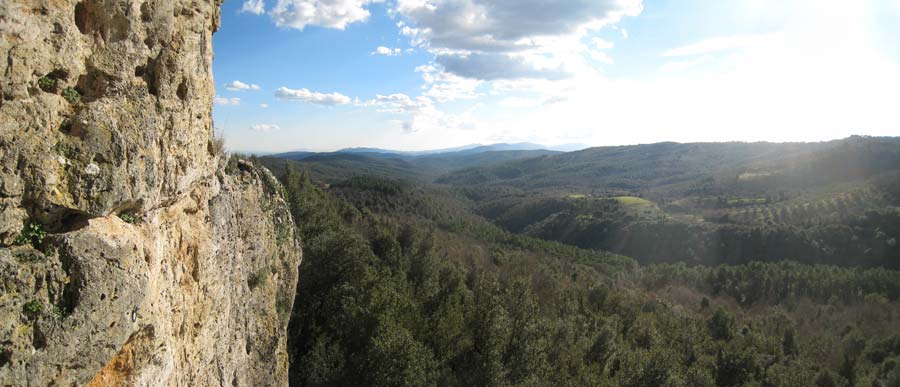
 Limestone
 Winter, Middle seasons

 1
1
 3
3